Antifouling Preparation Guide
& 5 Trade Secerets from our Force 4 Team Boat Owners
It's that time of year, and all around the marinas you'll start to see boats being readied for the new sailing season ahead.
Probably the most common bit of boat maintenance at this time of year is antifouling. It's a good idea to remember that to prevent an excessive amount of build up of barnacles and other marine growth you should consider antifouling your boat once a year (if it stays in the water).
If you have the time and the right tools it's a great way to save some money on upkeep.
1. Choose the correct Antifoul Paint.
Different types of sailing, coupled with different types of berths require a certain type of Antifoul Paint. You can read our Guide to choosing the correct Antifoul Paint by clicking here.
Trade Secret.
If you are not sure what the previous antifouling paint used on the boat was, apply an underwater primer first, then antifouling paint as usual. Most antifouling coatings are compatible, but it's always worth asking your local Force 4 team just in case.
See Hard Antifouling > See Self-Eroding Antifouling > See Inflatable Boat Antifouling >
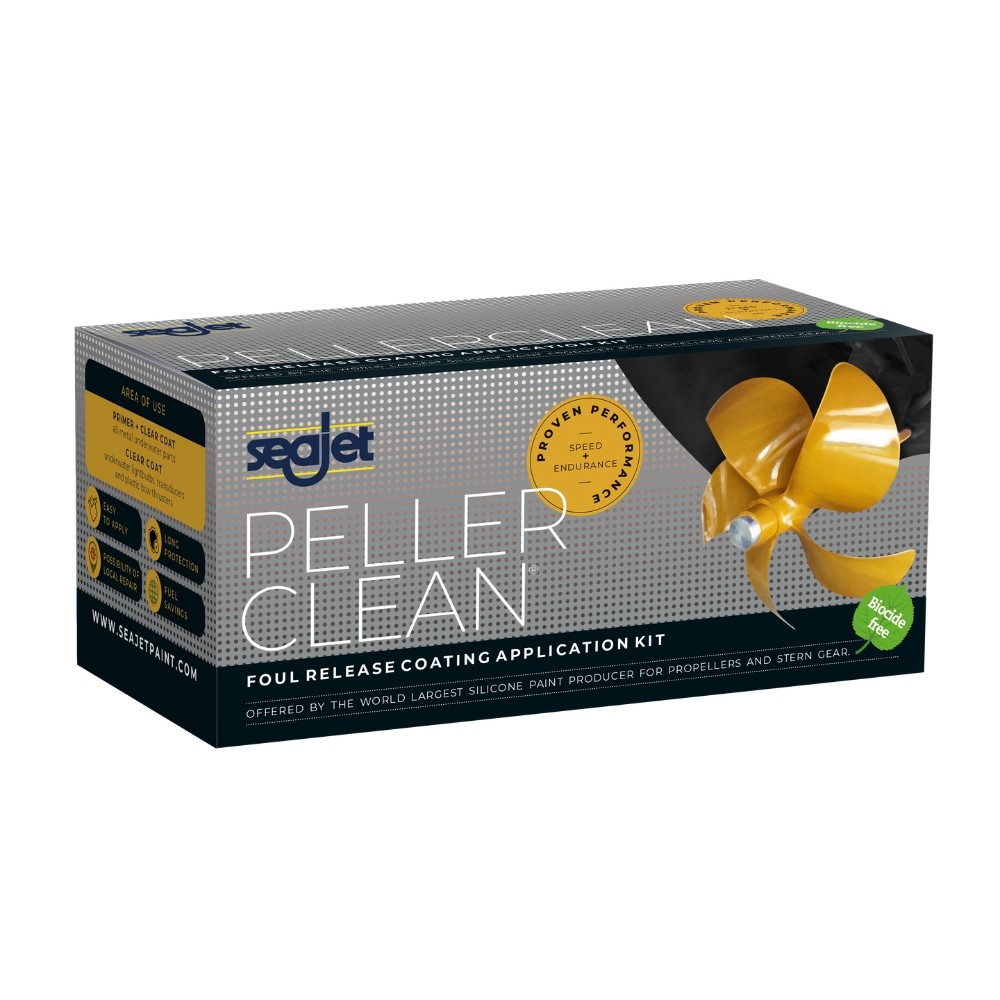
See Propellor & Stern Gear > See all Antifoul Paint >
2. Choose the correct tools.
We recommend:
- Paint roller and tray
- replacement rollers that are suitable for the paint
- wet-and-dry sanding paper
- a small selection of differing sized paint brushes
- masking tape
Trade Secret.
Good preparation is key, read all manufacturer's instructions before starting. Choose wool or synthetic mohair rollers for applying antifouling paint. Foam rollers can dissolve or disintegrate when used with antifouls.
See Paint Brushes, Rollers & Trays > See Tapes > See Paint & Varnishing Tools >
3. Cover up - Choose the right protective clothing
It's very important to make sure you don't get any of the old or new antifoul on you as it is a hazardous substance. You will need a good selection of protective clothing including a disposable suit, several pairs of disposable gloves, protective goggles & face masks.
Trade Secret.
It is best to work outdoors in a safe and secure location. If you are working inside, ensure the space is very well ventilated. Use a tarpaulin underneath your boat to capture any loose antifoul. Choose a dry day, with as little wind as possible. Ensure pets and children do not come close and avoid food and drink while working.
See Protective Workwear > See Painting & Varnishing Tools >
4. Clean & Prepare the Surface - Remove growth & barnacles.
Before applying any antifoul paint, the boat's hull needs to be thoroughly cleaned and prepared. This is to ensure your new paint will properly adhere and be effective.
Jet wash your boat, and inspect the hull for any obvious signs of wear. Any serious issues should be treated professionally before continuing.
Scrape and rub down the hull, removing any loose existing antifoul and growth. Antifoul paint strippers are great for removing several layers of paint. Where required pay special attention to the keel. Check for any signs of corrosion or rust and treat with a rust convertor if necessary.
Trade Secret.
To minimise dust, never dry sand the hull. Use an orbital sander with a vacuum attached or make sure you are wet sanding the hull with wet and dry sandpaper.
See Abrasives & Scrapers > See Paint Strippers >
5. Damaged Gel Coat.
Remember to fix chips in the gel coat, this can be repaired with an epoxy filler - always use one that is suitable for underwater repairs.
See Fillers > See all Resins, Glues & Fillers >
6. Prime peeling paint patches.
During cleaning and preparation of the boat's hull make sure to check for peeling paint. Remove any peeling and flakey paint and if necessary re-prime those areas with underwater primer.
7. Applying Antifoul Paint.
Make sure to stir the antifoul paint thoroughly to get a consistent texture and pour into a paint tray. Use a paintbrush to apply the antifoul paint in any areas that are difficult to reach with a roller, such as the keel and rudder. Use a roller to apply the antifoul paint to the rest of the hull, starting at the waterline and working downwards.
Apply the paint in thin, even coats, making sure to avoid drips and runs. You can use Thinners to make your antifoul easier to apply and ensure even coats. Check on the paint tin which thinners are recommended, usually Thinners Number 3.
Check the manufacturer's instructions or product data sheets for the recommended number of coats and drying times. Allow the antifoul paint to dry completely before launching the boat.
If paint should come into contact with your skin wash off straight away, following manufacturer's guidelines. Clean up safely, protecting yourself and others, by following your marina or boatyard rules
Trade Secret.
People often assume one coat is enough, but for best results 2-3 coats of antifouling paint is recommended.
See Thinners > See all Antifoul Paint > See all Maintenance >
In summary, preparing and painting a boat with antifoul requires proper surface preparation, careful application of the paint, and protective gear. By following these steps, you can protect your boat from the damaging effects of marine organisms and extend the life of your vessel.
Remember our stores are filled with experts, so if you get stuck you can always ask for advice. Chances are they've come across the same problem.
Why not buy the kit from your local Force 4 and grab advice at the same time?
Find your nearest Force 4 Chandlery - click here.
Happy Sailing!


